
Note: several of the how to guides were written for a specific Jolly product, but the concepts and techniques discussed in each guide typically apply to other Jolly products.
SQL Server Installation
- Download SQL Server 2008 R2 Management Studio
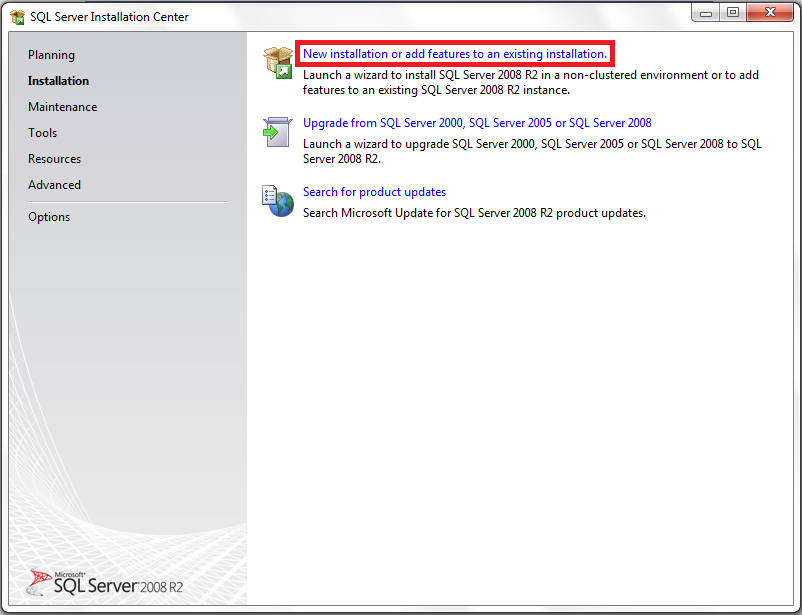
- Select ‘New installation ’ as indicated below:
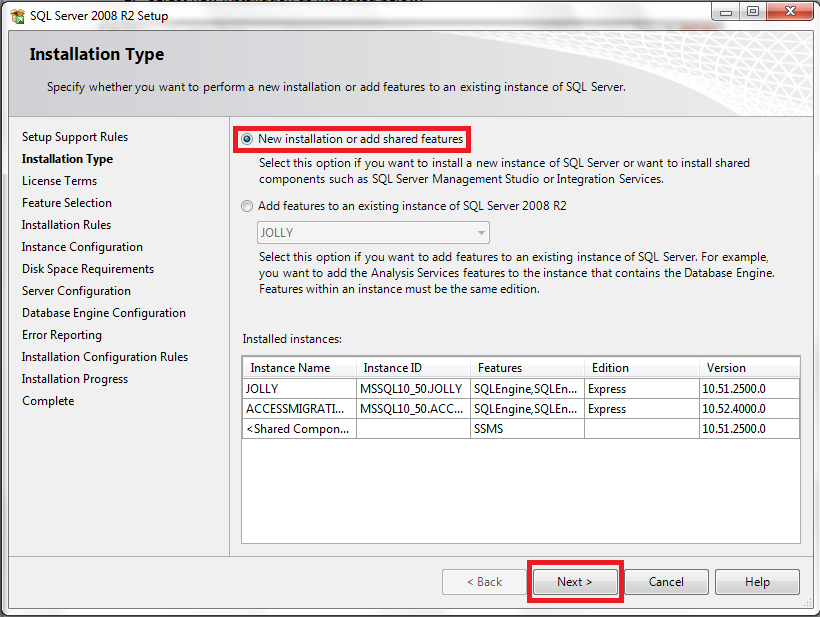
- Select ‘Next,’ keeping the default ‘New installation ’ option selected:
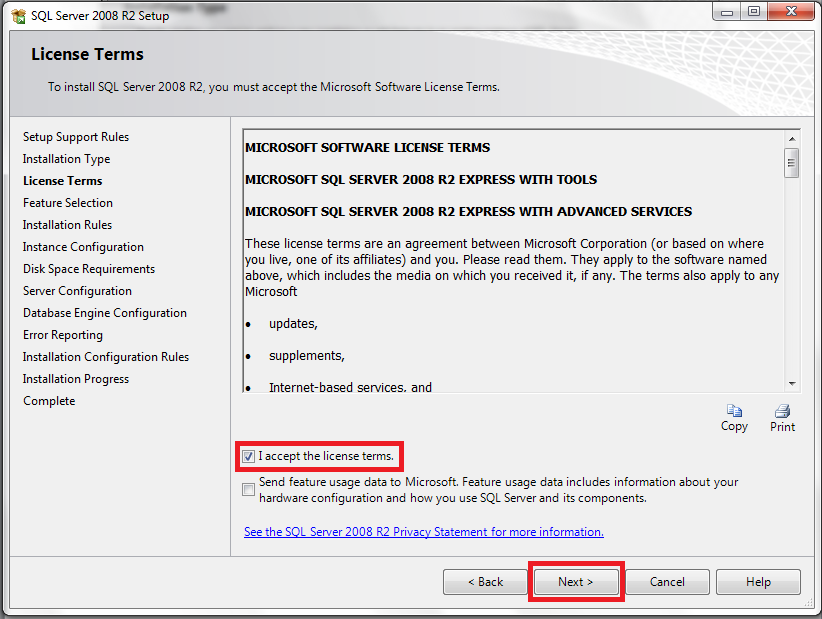
- Accept the terms and select ‘Next’:
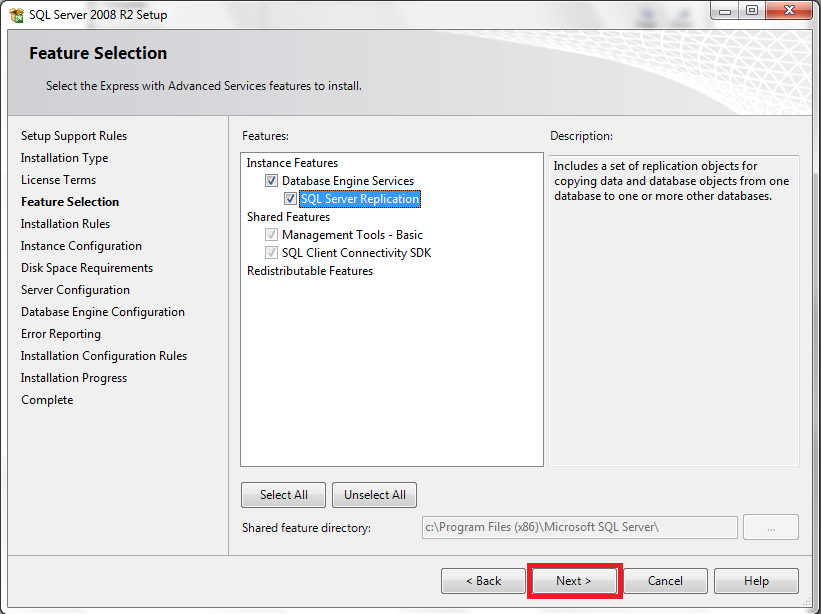
- Keep the defaults and select ‘Next’:
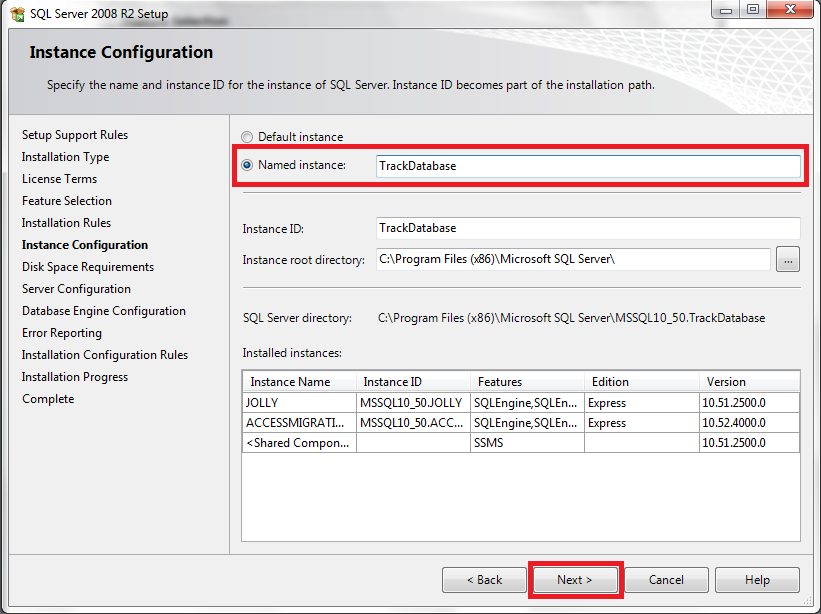
- Give the server instance a name of your choice and select ‘Next,’ here we have entered ‘TrackDatabase’:
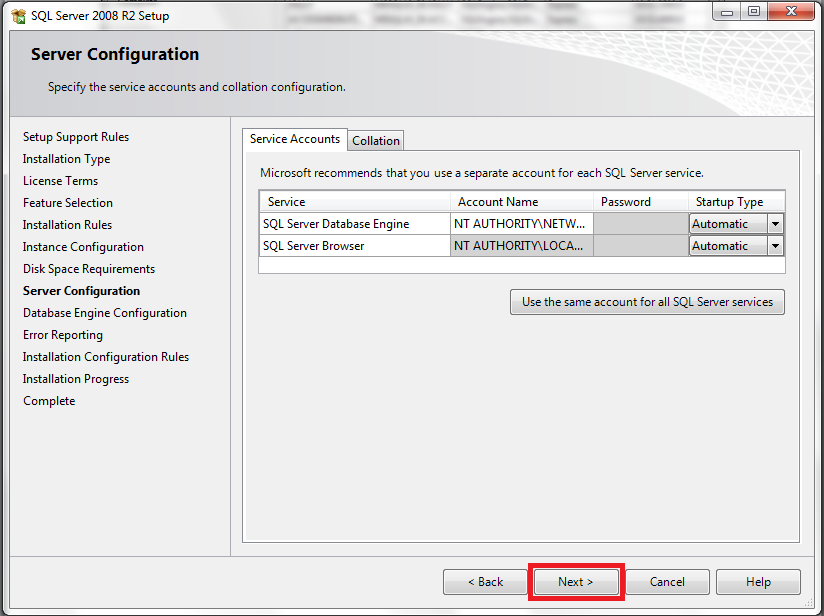
- Keep the defaults and select ‘Next’:
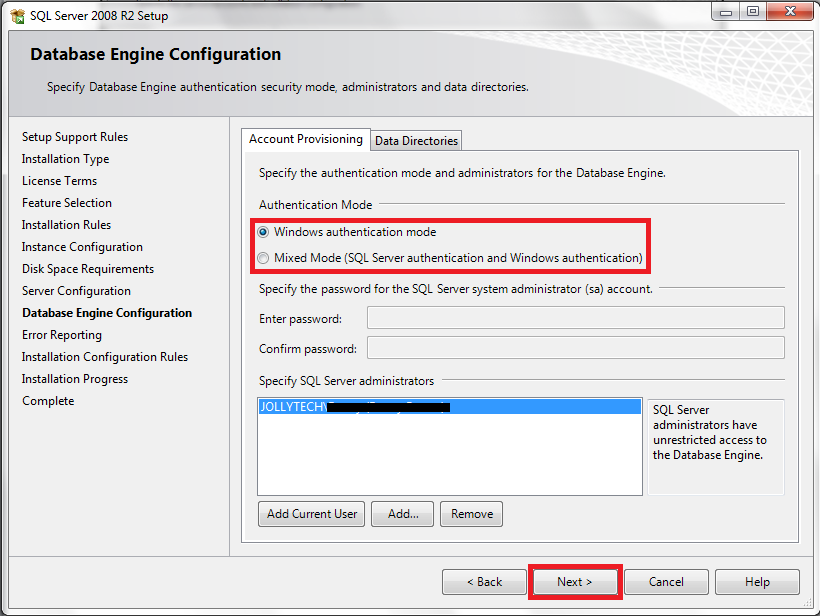
- Set your choice of username and password authentication methods, here we allow ‘Windows authentication mode’. Select ‘Next’:
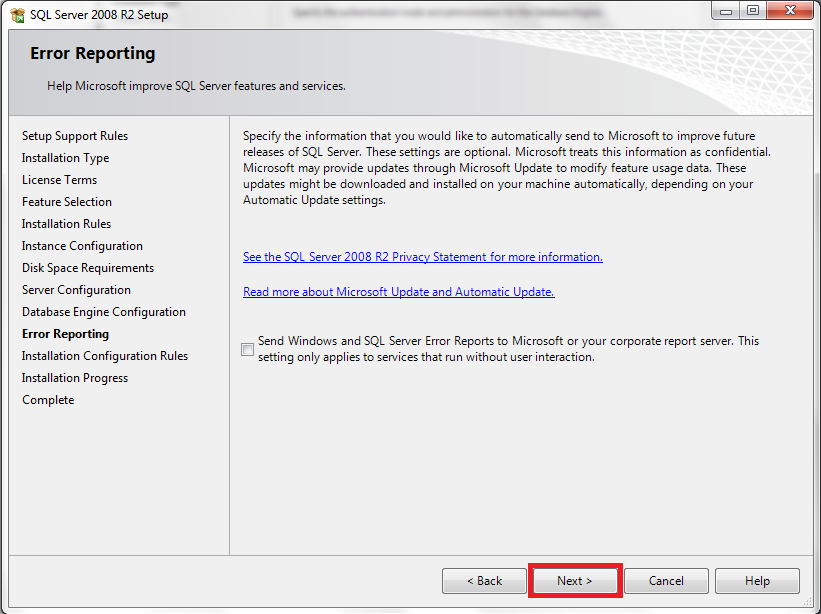
- Select ‘Next’:
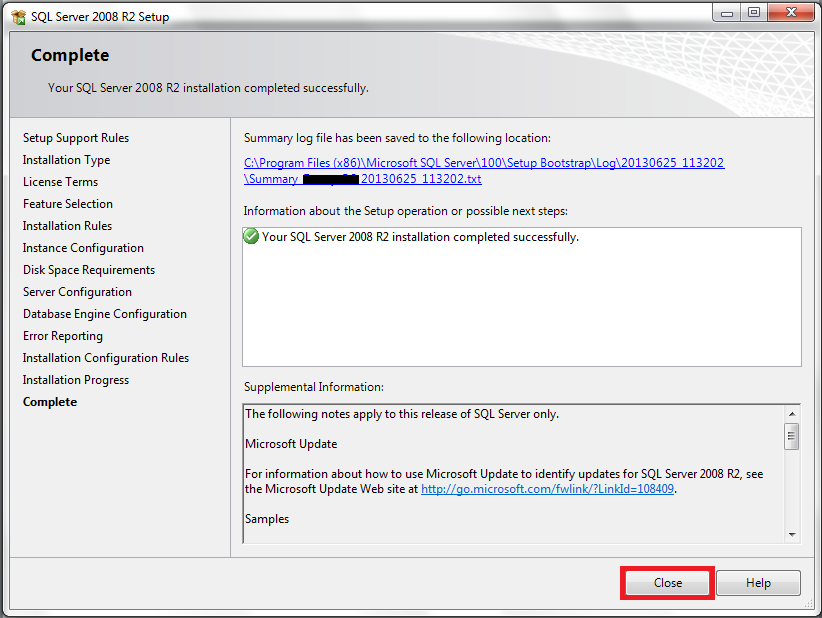
- Installation is complete, select ‘Close’ and exit the installer:
Importing Data from the Internal Jolly Server
Selecting a Data Source (Windows 32-bit)
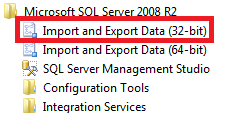
- From the Start menu, select ‘Import and Export Data (32-bit)’:
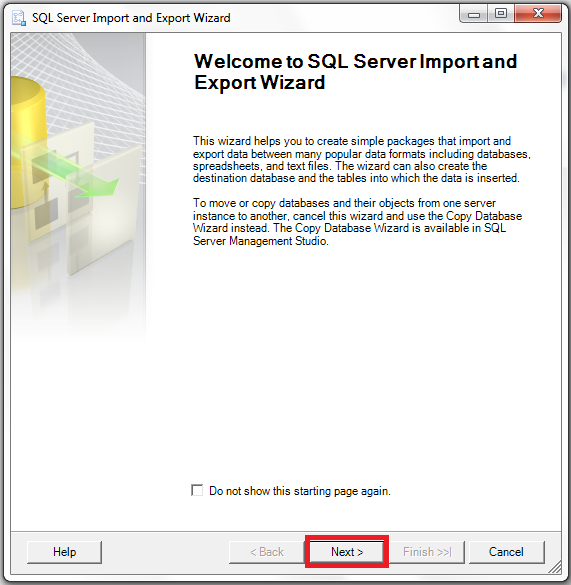
- Select ‘Next’:

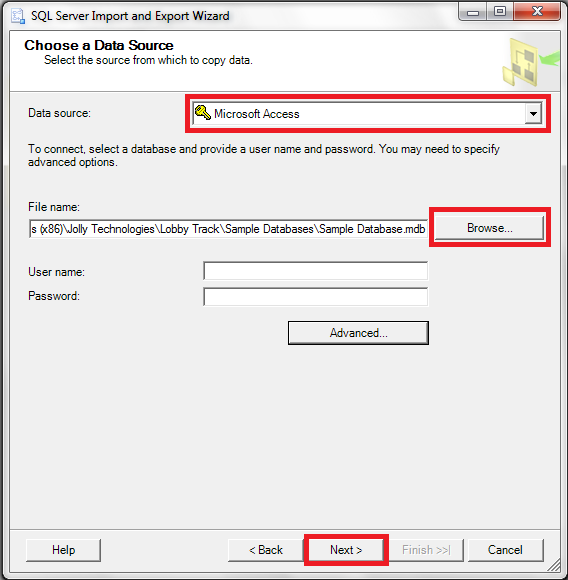
- Select ‘Microsoft Access’ from the data source menu. Browse to the internal Jolly Server database file, this is located at C:\Program Files (x86)\Jolly Technologies\YOUR_SOFTWARE_HERE\Sample Databases\Sample Database.mdb. Select ‘Next’:
Selecting a Data Source (Windows 64-bit)
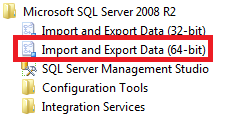
- From the Start menu, select ‘Import and Export Data (64-bit)’:
- Select ‘Next’:
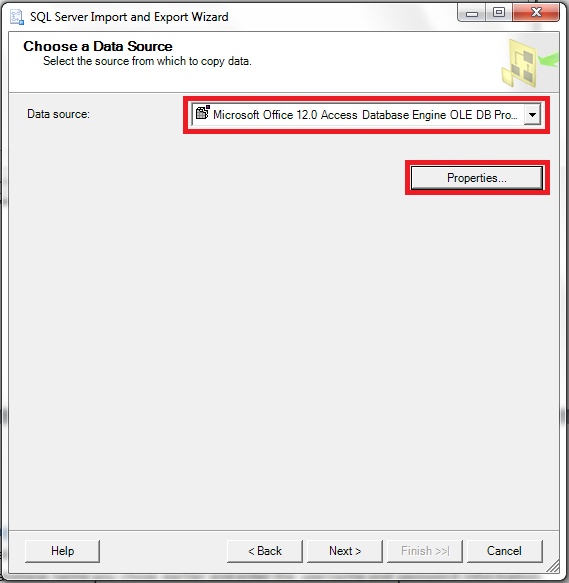
- Select ‘Microsoft Office 12.0 Access Database Engine OLE DB Provider’ from the ‘Data Source’ drop-down box. Select ‘Properties’:
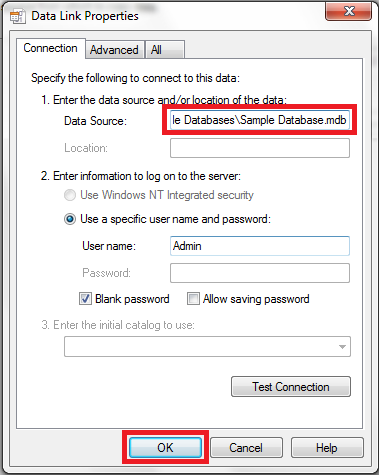
- Type the location of the internal Jolly Server database file into the ‘Data Source’ box. The database file is located at C:\Program Files (x86)\Jolly Technologies\YOUR_SOFTWARE_HERE\Sample Databases\Sample Database.mdb. Select ‘OK’:
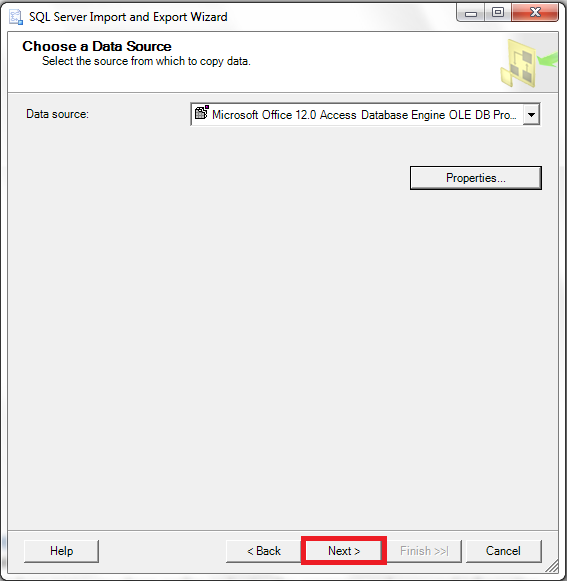
- Select ‘Next’:
Selecting a Data Destination
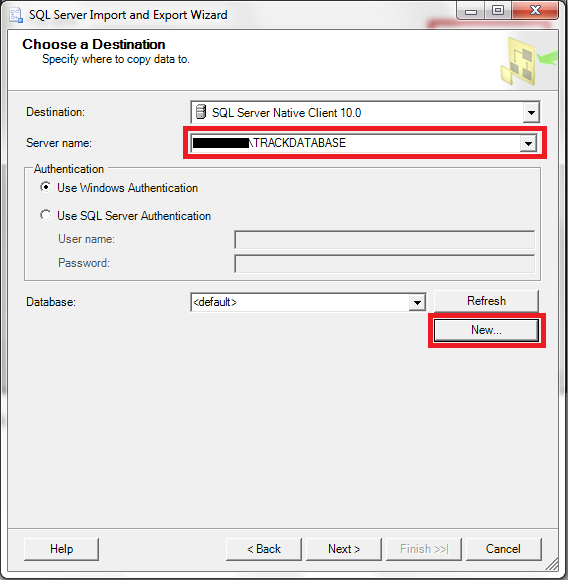
- Select the server name from the drop-down box. Choose the name that includes the instance name you chose earlier and enter the username and password information you set earlier. Select ‘New’:
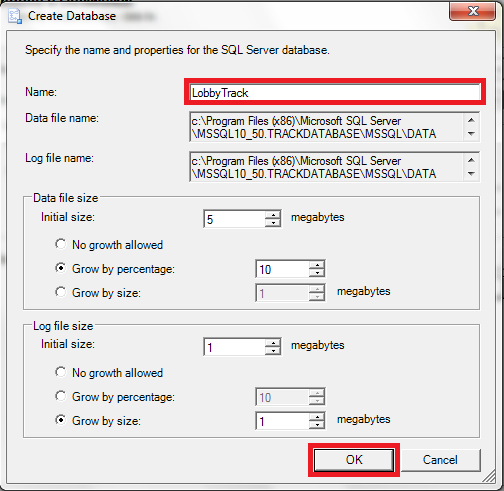
- Name the database; here we use the name of the software. Select ‘OK’:
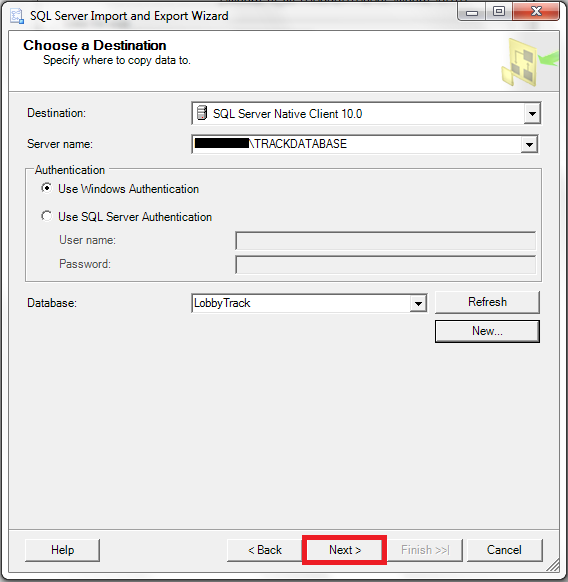
- Select ‘Next’:
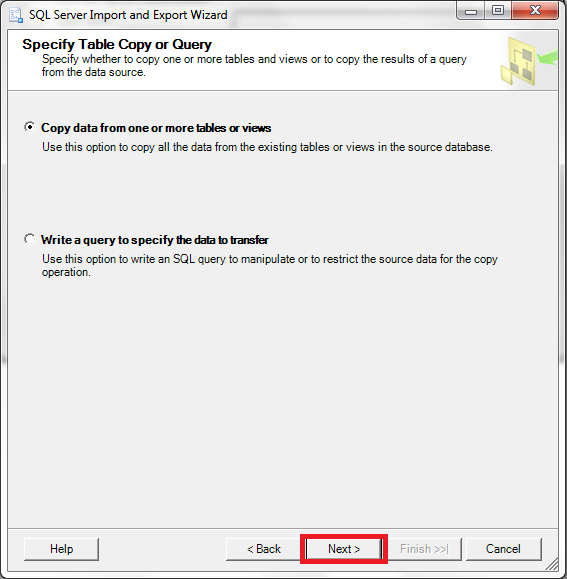
- Keep the default selection and select ‘Next’:
- Select the top checkbox to select all tables:
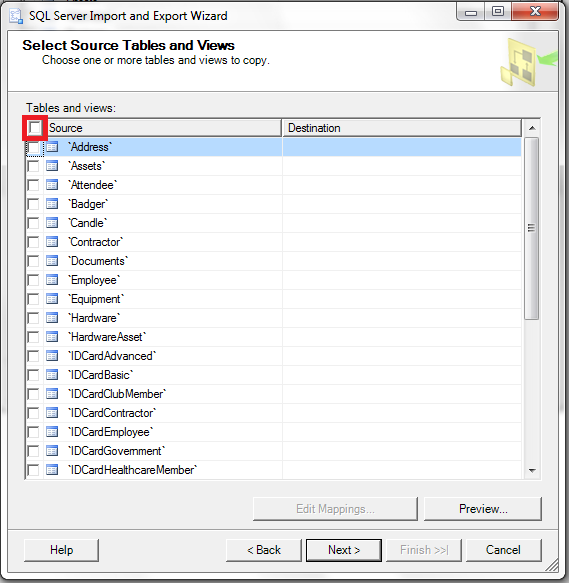
- Select ‘Next’:

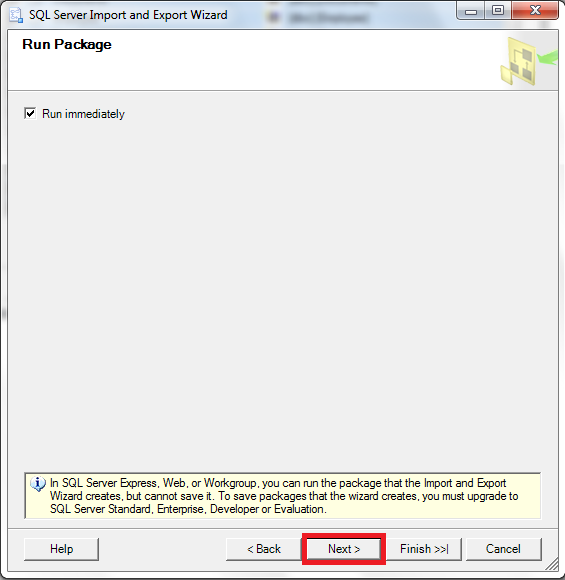
- Select ‘Next’:
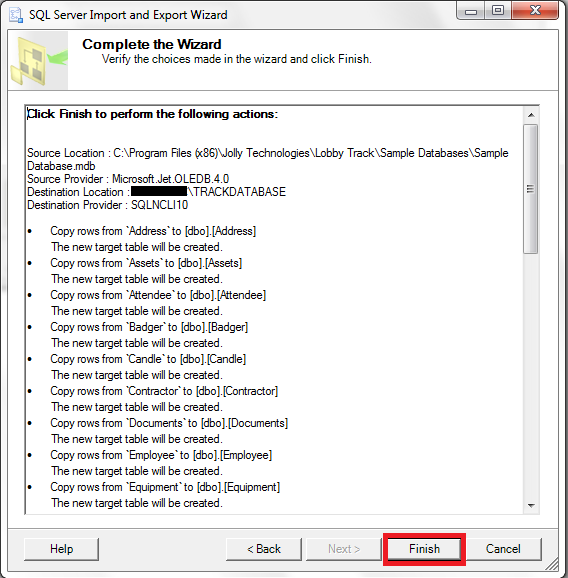
- Select ‘Finish’:
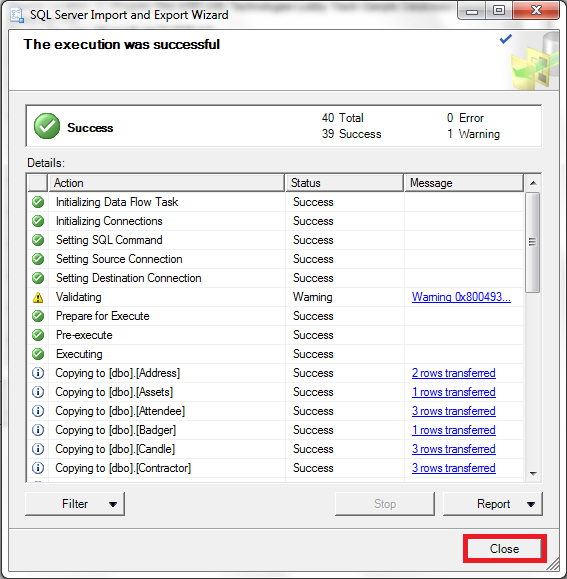
- The data has been imported, select ‘Close’:
Adjusting Table Primary Keys
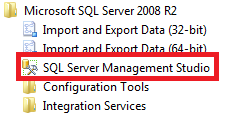
- From the Start menu, open ‘SQL Server Management Studio’:
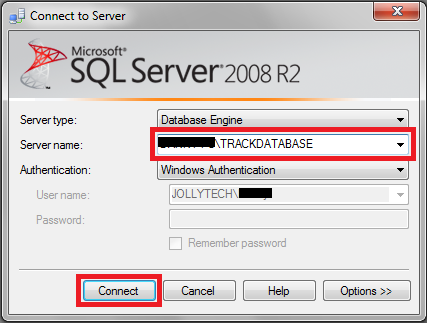
- Select the server name from the drop-down box; use the option that includes the server instance name. Enter the username and password settings you chose earlier, and then select ‘Connect’:
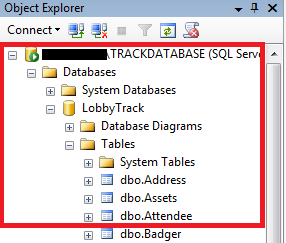
- Navigate to the ‘Tables’ folder:
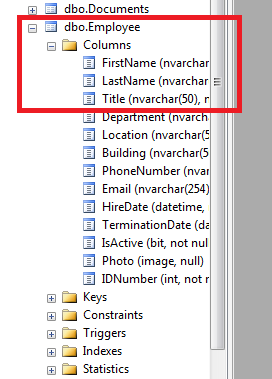
- Navigate to the ‘Columns’ folder of a table you intend to use. Here we use the ‘Employee’ table:
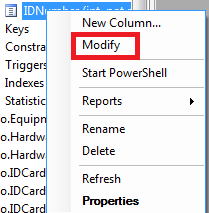
- Right-click the ‘IDNumber’ field and select ‘Modify’:
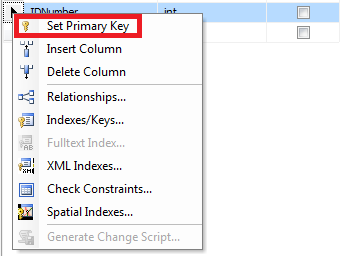
- Right-click the ‘IDNumber’ field and select ‘Set Primary Key’:
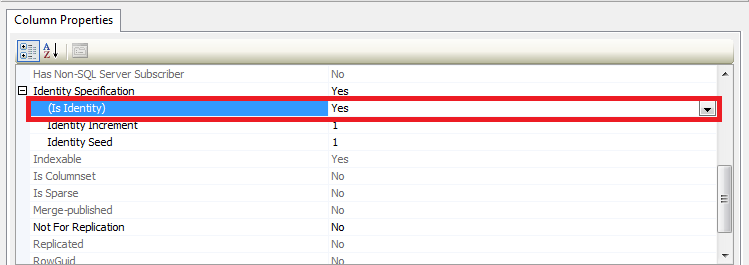
- Scroll down in the ‘Column Properties’ area and expand the ‘Identity Specification’ field. Change ‘(Is Identity)’ to ‘Yes’:
- Repeat steps 4-7 for each table you intend to use (do this for all tables if you are unsure).
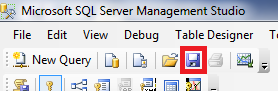
- Save the changes:
- If you see the following error message, select ‘Cancel’ and follow the remaining steps in this section. If you do not see an error message, exit and continue to the next section.

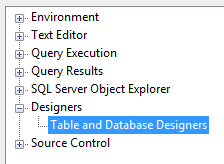
- Open Tools > Options and navigate to ‘Table and Database Designers’:
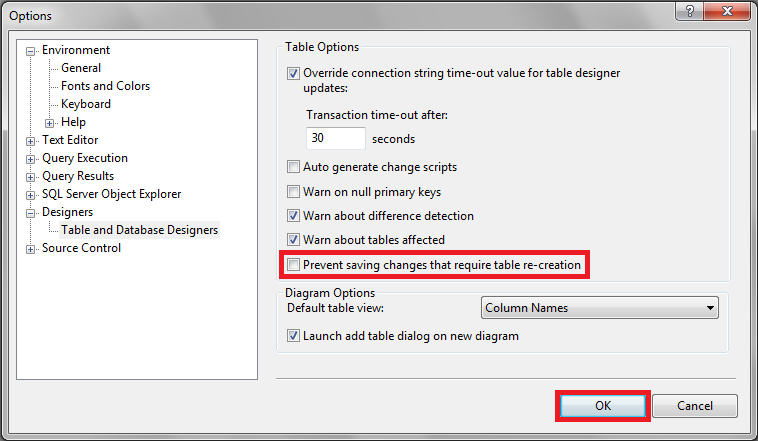
- Uncheck ‘Prevent saving changes that require table re-creation’ and then select ‘OK’:
- Save the changes and exit.
Point the Software to the SQL Server
- Open the software to the main menu using an administrator account.
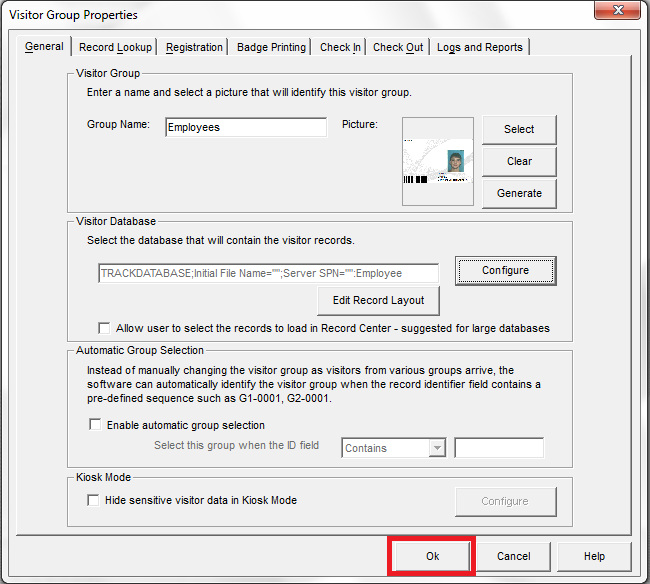
- Open the group properties:

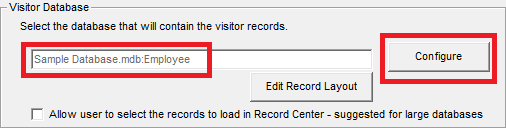
- Keep note of the table name displayed at the end of the existing settings box and then select ‘Configure’:
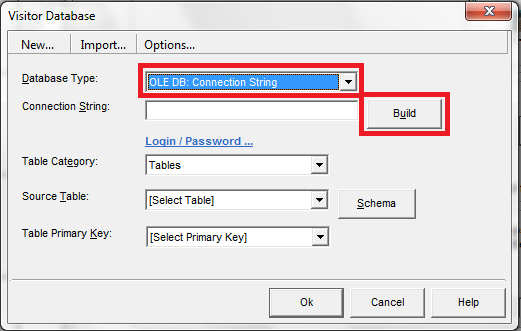
- Select ‘OLE DB: Connection String’ from the Database Type drop-down menu then select ‘Build’:
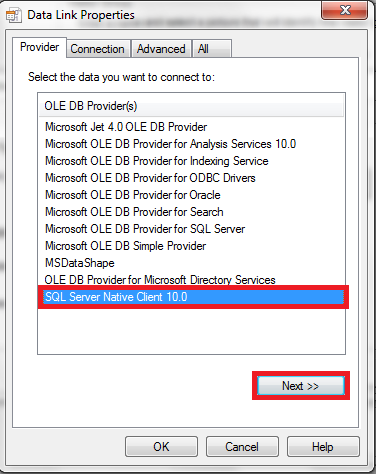
- Select ‘SQL Server Native Client 10.0’ and then select ‘Next’:
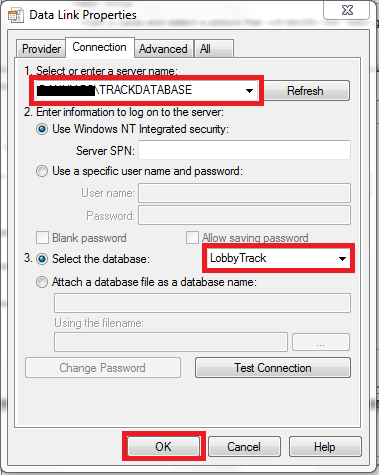
- Select the server name from the drop-down box; use the option that includes the server instance name. Enter the username and password settings you chose earlier. Select the database from the list and select ‘OK’:
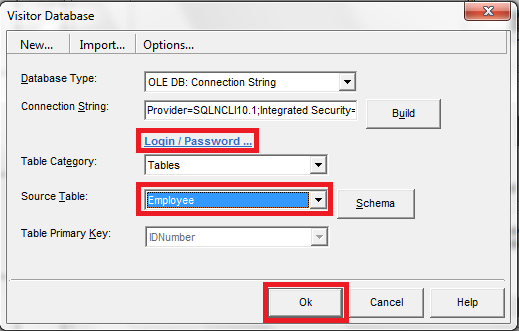
- Set the login/password information, select the table name that was recorded from the settings menu previously, and then select ‘OK’:
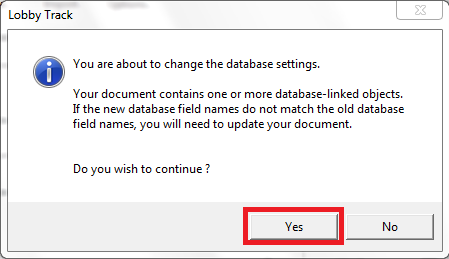
- Select ‘Yes’:
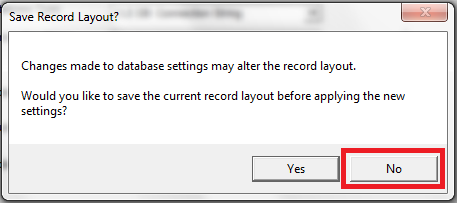
- Select ‘No’:
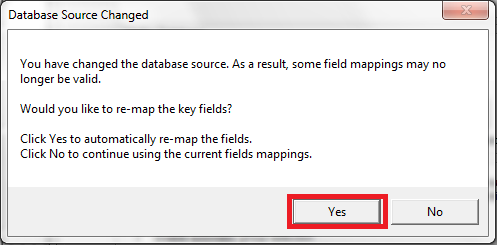
- Select ‘Yes’:
- Select ‘Ok’ and setup for this group is done:
- Repeat steps 2-11 for each group that you have in the software.