Note: several of the how to guides were written for a specific Jolly product, but the concepts and techniques discussed in each guide typically apply to other Jolly products.
When working with small numbers of records, you may choose to save images in the database as part of the visitor record. However when working with large numbers of records, large images, or when sharing images with other applications, it is often benificial to store photos and images outside of the database and save the image file name as part of the record.
- Using an administrator account, open the software and select the ‘Properties’ button on the main menu:

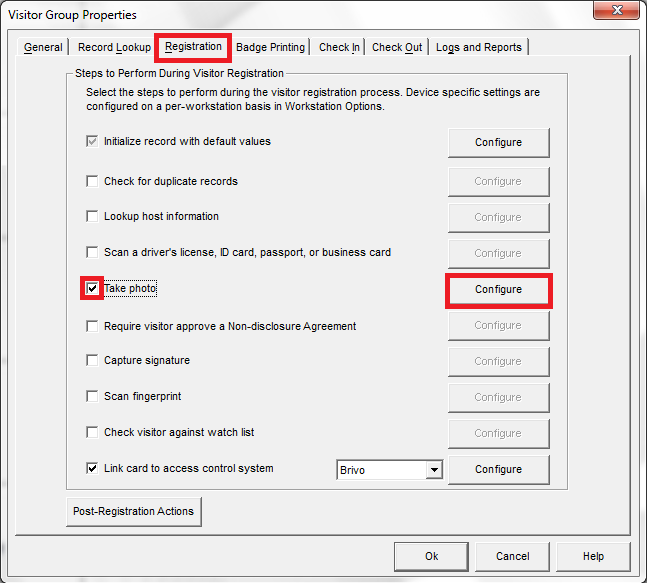
- Select the ‘Registration’ tab, ensure that ‘Take photo’ has been checked, and select the ‘Configure’ button:
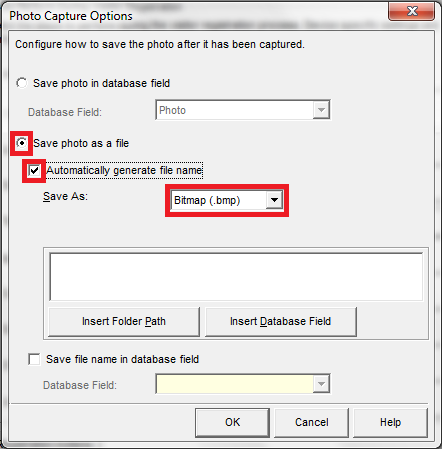
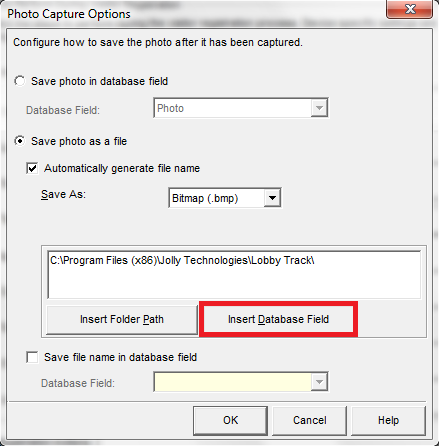
- Select the ‘Save photo as a file’ option, select the ‘Automatically generate file name’ option, and choose your file format:
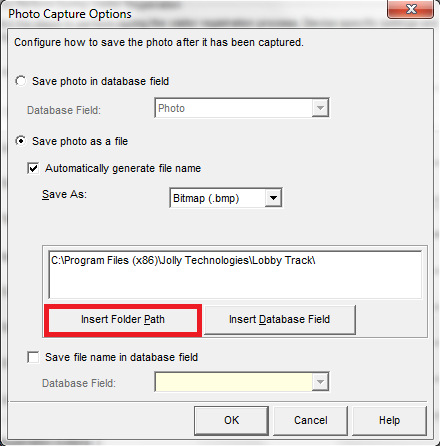
- Select the ‘Insert Folder Path’ button and choose the folder in which you want to store the photos. Here we have chosen to keep the files in the Lobbytrack folder for simplicity (we do not recommend this however):
- Select the ‘Insert Database Field’ button:
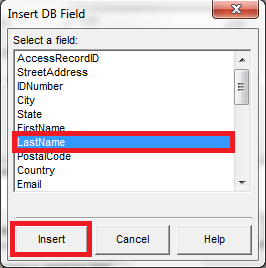
- Select the field you want to use and then select the ‘Insert’ button:
- Add additional fields as you choose and add the filename extension. Here we have added an underscore followed by the first name field from our database (avoid spaces in the file name, you should use underscores instead). You can store the filename in the database if you choose, simply select the field to store the filename. Select the ‘Ok’ button:
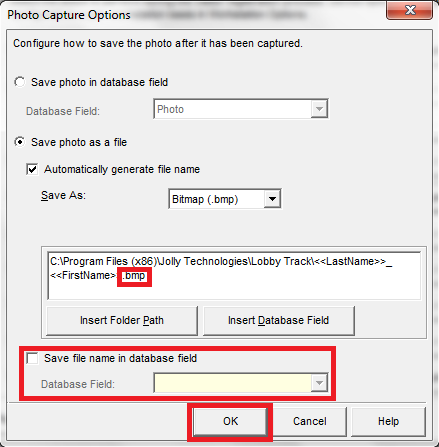
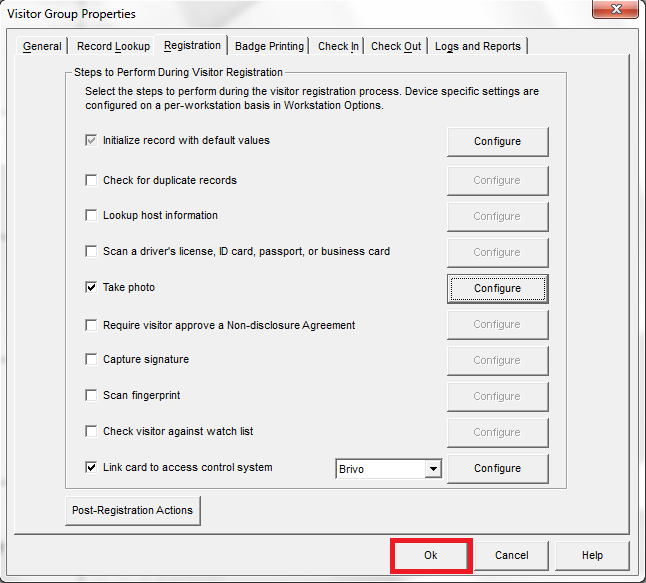
- Select the ‘Ok’ button to save the changes: