Note: several of the how to guides were written for a specific Jolly product, but the concepts and techniques discussed in each guide typically apply to other Jolly products.
- Open the software in an administrator account and select the ‘Record Center’ button:
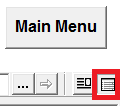
- Make sure that you are in spreadsheet view:
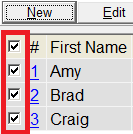
- Select the records that you wish to export:
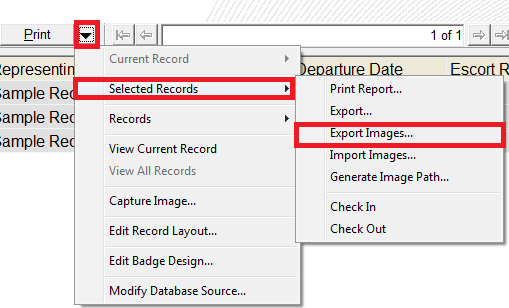
- Select the down arrow button for more options and select the ‘Selected Records’ > ‘Export Images ’ option:
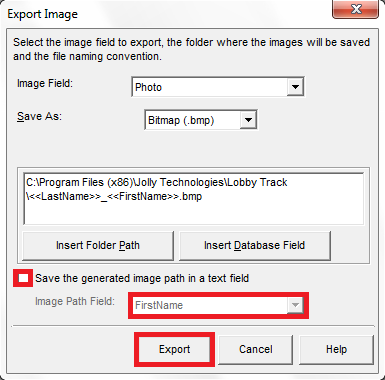
- Select the database field containing the photo and then the file format you want to save the photo in. Use the ‘Insert Folder Path’ and ‘Insert Database Field’ buttons to select a destination folder. Make sure you add the file extension matching the file format to the end of the name:
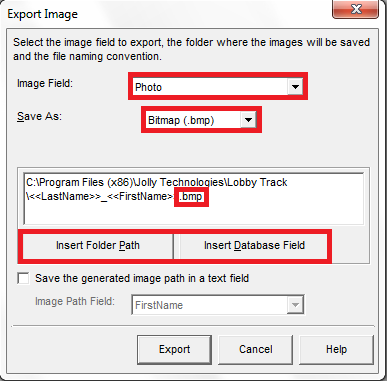
- You may save the path name to a field in each record by selecting ‘Save the generated image path in a text field’ if you wish. Select the ‘Export’ button: